In this series, we are going to learn how to implement a subscription system with Stripe and Supabase. We will use Supabase Authentication, Supabase Database, and Stripe Billing.
This guide is not intended to be a complete walk-through of the code you need to write. It is instead an overview of the main steps and gotchas that I found in the process of learning how to set up the system. I will highlight the main API calls and give you access to external references and sources. It will be up to you to structure the system as you prefer and with any programming language of your choice.
Feel free to reach out if you need any clarification.
Create an account on Supabase and Stripe Billing
Visit the website of Supabase and Stripe and create an account for both.
Follow this video to sign up and create a new project on Supabase.

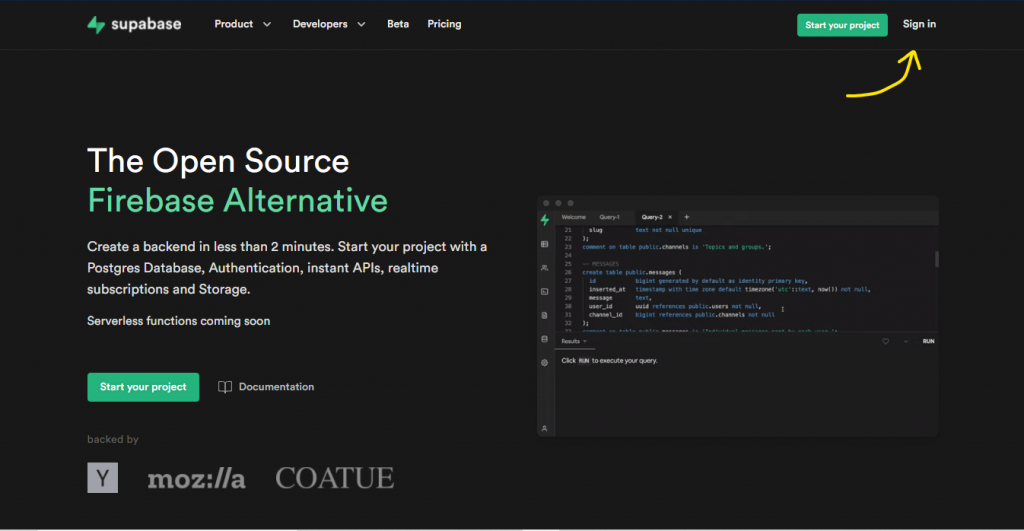
Click the Sign In button on the top-right corner to create an account. Then create an organization and a new project in Supabase.

Click on the Sign In button on the top-right corner.
Setup Supabase users table
We create a user table to store the minimum required information of each user. The user will have in id, an email, and a customer_id (from Stripe).

An example of user in Supabase.
The id is of type uuid and it is the primary key of the table, while the email and the customer_id are of type varchar.
-- Supabase postgresql database
CREATE TABLE public."user"
(
    id uuid NOT NULL DEFAULT uuid_generate_v4(),
    email character varying COLLATE pg_catalog."default" NOT NULL,
    customer_id character varying COLLATE pg_catalog."default",
    CONSTRAINT user_pkey PRIMARY KEY (id)
)
When we sign up the user using Supabase Authentication, a trigger will automatically create a new row in the user table with the id and email values. The trigger we use is the following:
create function public.handle_new_user()
returns trigger as $$
begin
  insert into public.user (id, email)
  values (new.id, new.email);
  return new;
end;
$$ language plpgsql security definer;

-- trigger the function every time a user is created
create trigger on_auth_user_created
  after insert on auth.users
  for each row execute procedure public.handle_new_user();
If the sign up is successful, we will have a new row in the user table with the id and email values. The customer_id field is still NULL since when did not yet register the customer on Stripe.
Signin up the user using Supabase is easy:
const { user, session, error } = await supabase.auth.signUp({
  email: '[email protected]',
  password: 'example-password',
})
The signUp method will return the newly created row in the user table (with id and email).
Create Stripe customer for Stripe billing
Right after the sign up we need to register the user with the same email to Stripe.
We create an API endpoint in the backend of our application. The endpoint will accept a POST request with the user email in the body. We register a new stripe customer from the given email:
const { email } = req.body;
const customer = await stripe.customers.create({
  email, // <- User email from the request body
});
res.send(customer);
The previous call will return the new customer information. We are interested in the customer_id autogenerated by Stripe. The endpoint returns the newly created customer.
We need to update the user in our Supabase database by adding the customer_id from Stripe:
const response = await supabase
      .from('user')
      .update({
        customer_id: customerId, // <- Customer id from API endpoint
      })
      .match({
        id: supabaseId, // <- Uuid of the user from Supabase sign up
      });
If everything is successful, we now have completed the registration phase!
Sign in the user with Supabase Authentication
Signing in the user with Supabase is as easy as the sign up:
const { user, session, error } = await supabase.auth.signIn({
  email: '[email protected]',
  password: 'example-password',
})
Supabase will manage the complete Authentication process for you. You do not need to store any other information or implement any other functionality. Check out the documentation from Supabase.
Recap
- Create an account on Supabase
- Create an account on Stripe
- Create a new
usertable in Supabase - Create a trigger to insert new users in the
usertable on each signup - Collect the user email and password and complete the sign up by calling
supabase.auth.signUp - Create an API endpoint to insert a new customer on Stripe after each sign up by calling
stripe.customers.create - Insert the
customerIdfrom Stripe in thecustomer_idfield of theusertable on Supabase - Sign in the user by calling
supabase.auth.signIn
In three easy steps, we completed the authentication phase. We now have a user registered both on Supabase and Stripe, with a shared customer_id field.
In the next part of the guide we are going to understand how product and pricing work in Stripe billing.
